Low-quality images can reflect poorly on your brand. Whether you’re designing for yourself or a client, print or web, you want your images to look fantastic and professional. That starts with using high-resolution images.
What is a High-Resolution Image?
 When dealing with print media, you often hear the term “high resolution” or “low resolution” when it comes to images or photos. Whether you want an invitation with a picture of your nephew designed and printed, a banner with your company logo, or a brochure touting company capabilities, you will most likely be asked to supply the designer or printing company with high-resolution images.
You may ask yourself, “Why am I having to do this? My picture is very good quality and very clear!” After all, it looks GREAT on your computer monitor, right? But digital media works completely differently than print media. And one of the big differences is how each medium handles resolution.
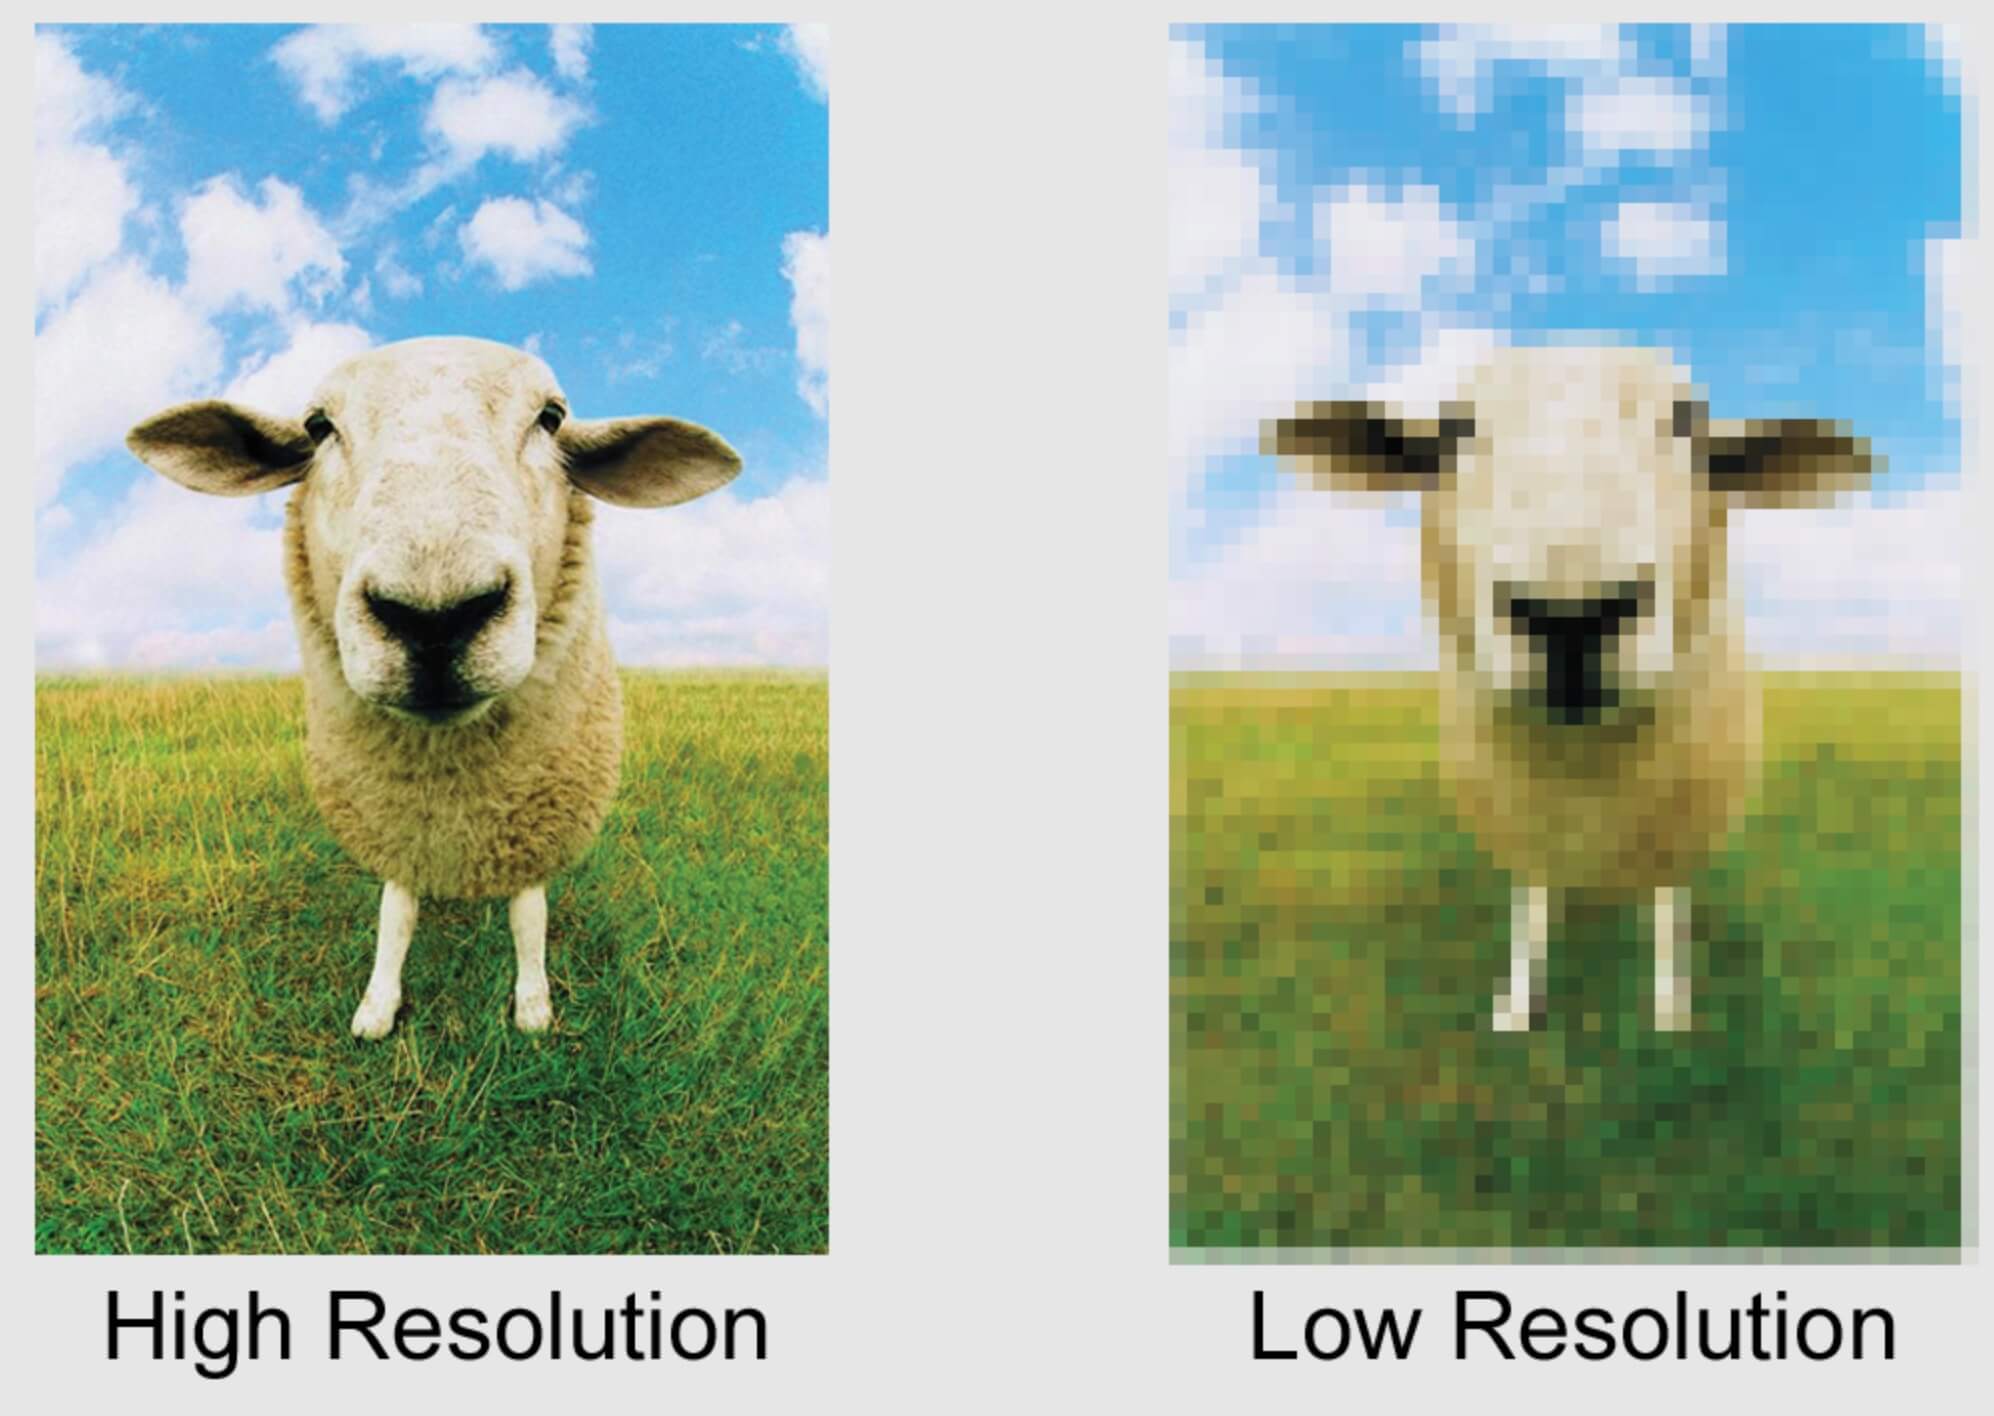
Very briefly, the resolution of an image or picture describes the detail (or information) an image holds. The higher the resolution, the more detail the image has because there is more information. Information translates to “pixels,” which are the different colored “dots” that make up an image. The more pixels there are makes the image more vivid and detailed to the naked eye. If an image has very few pixels the image will appear to be “pixelated”—the pixels look like squares all joined together—but you know exactly what I’m talking about if you’ve ever printed something off the internet (and who hasn’t?).
DPI stands for “dots per square inch.” This is the measurement printing companies use to determine how sharp an image is. Photos or images used for online or web graphics can be at low resolution (72 DPI) and will look FABULOUS on a computer screen. But try to print those same pictures and they’ll look horribly pixelated. For printing purposes, images should be 300 DPI or better. See the photos above: While these images have similar dimensions, their resolution is different. The image on the left is crisp and clear while the one on the right is significantly blurrier, and this is because of the amount of information contained in each image.
How to Ensure the Best Image Quality
For the best image quality, you should start with a large raw file and size it down to the dimensions and resolution that are appropriate for your project. Print projects typically need a higher resolution at 300 ppi (pixels per inch) or more, while a good resolution for a website or digital display such as a monitor screen is around 72 ppi or more.
NOTE: If you’ve got a bad image to start with, something grainy, already pixelated, or muddy or muted color that’s high resolution will just be a high-resolution bad image, and it WILL print that way! Changing the resolution of an image from 72dpi to 300dpi will not make it better. It will just increase the file size.
So the next time you want something printed, think high-resolution graphics and images—it’ll go a long way in the professionalism and quality of your printing!
ADOBE has an online tool that may help you resize your image.